

Before you begin:
- Admin permissions required
- An active Clearbit account with access to the account's Secret API Key
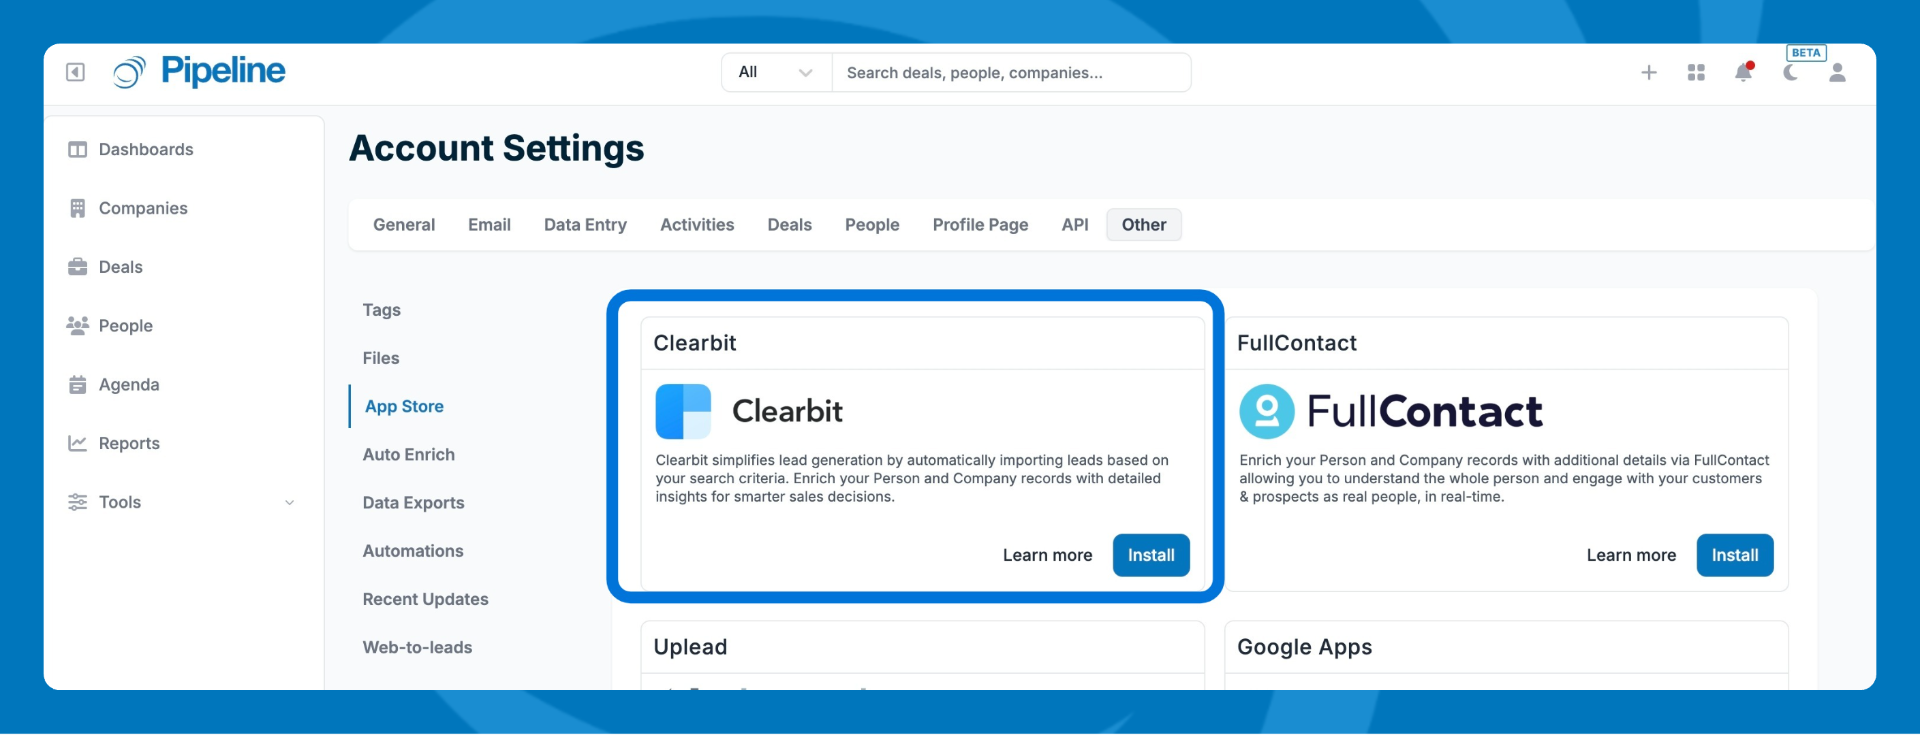
- Go to Settings > Other > App Store in Pipeline CRM.
- Find the Clearbit integration and click Install.
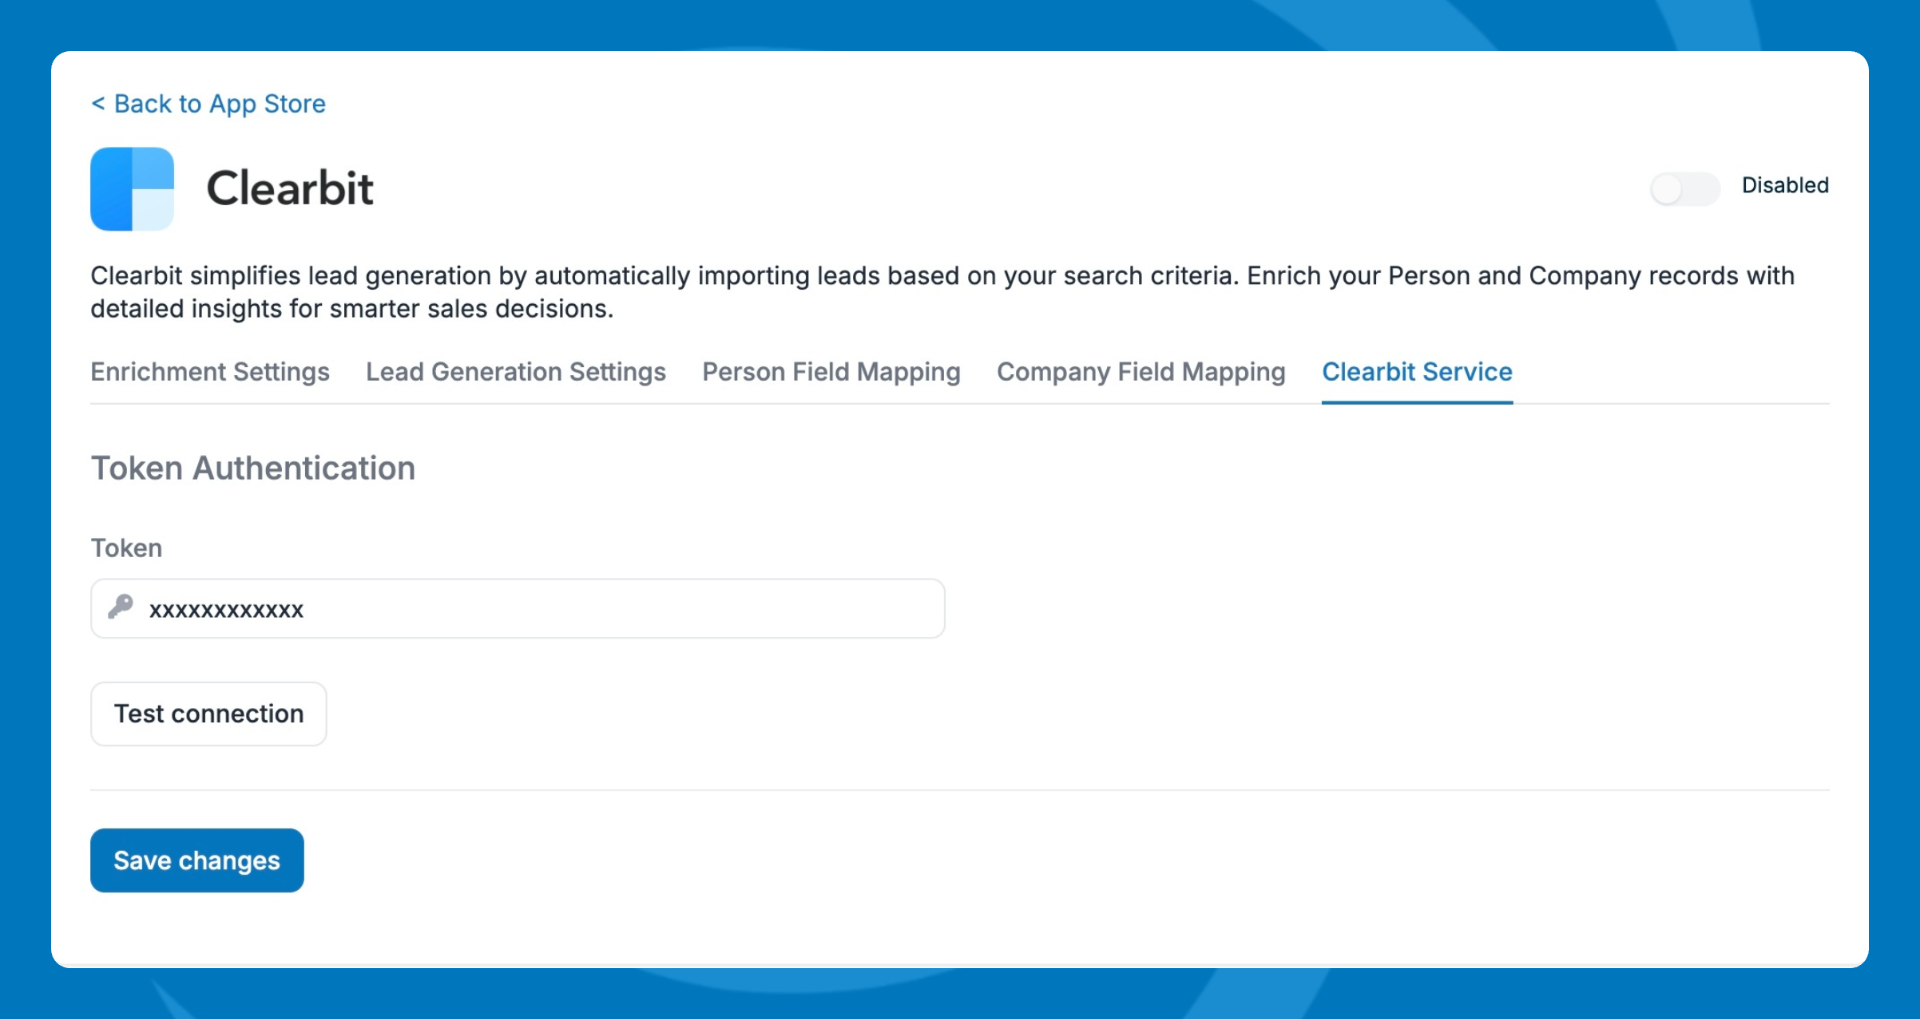
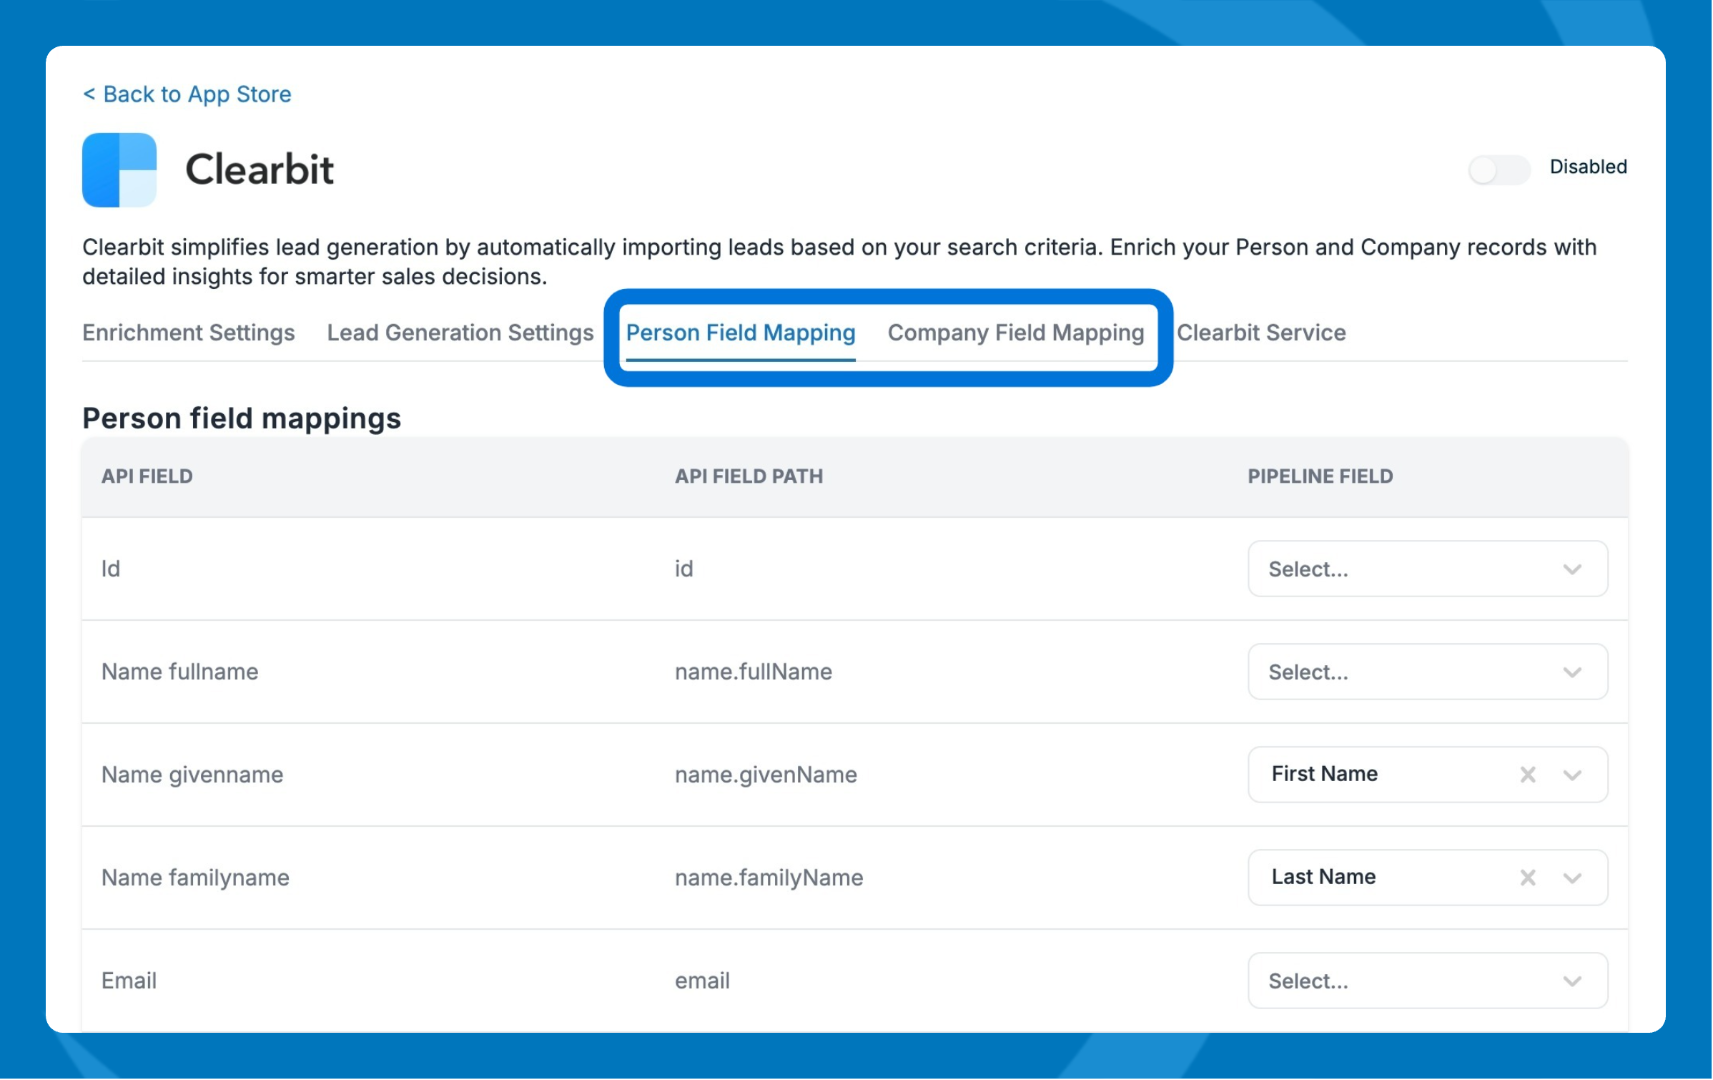
- Select the Clearbit Service tab.
- In Clearbit admin, copy your Secret API Key and paste it into the Token field.
Here is more information on accessing your Clearbit API Keys. - Click Test Connection to verify the key is working, then click Save changes.
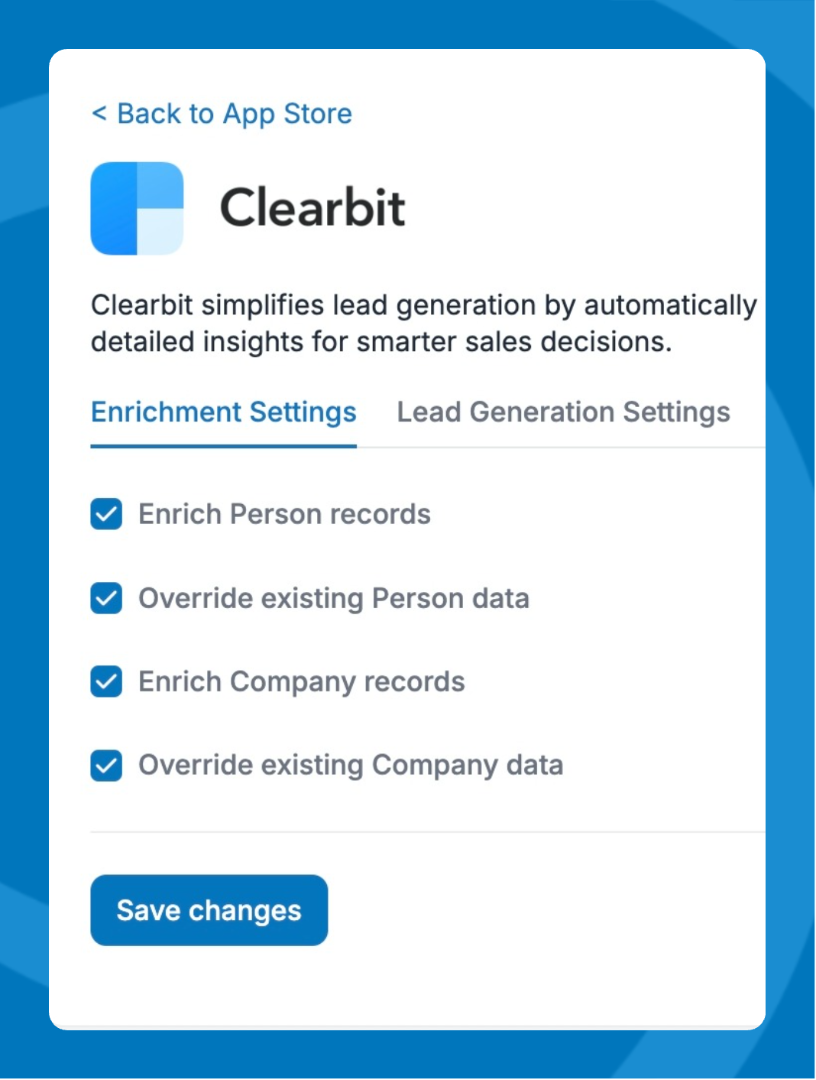
- Enrichment Settings:
- Choose which record types to enrich: Person fields, Company fields, or both.
- (Optional) Enable Override Existing Data to allow Clearbit to overwrite any values already stored in mapped fields.
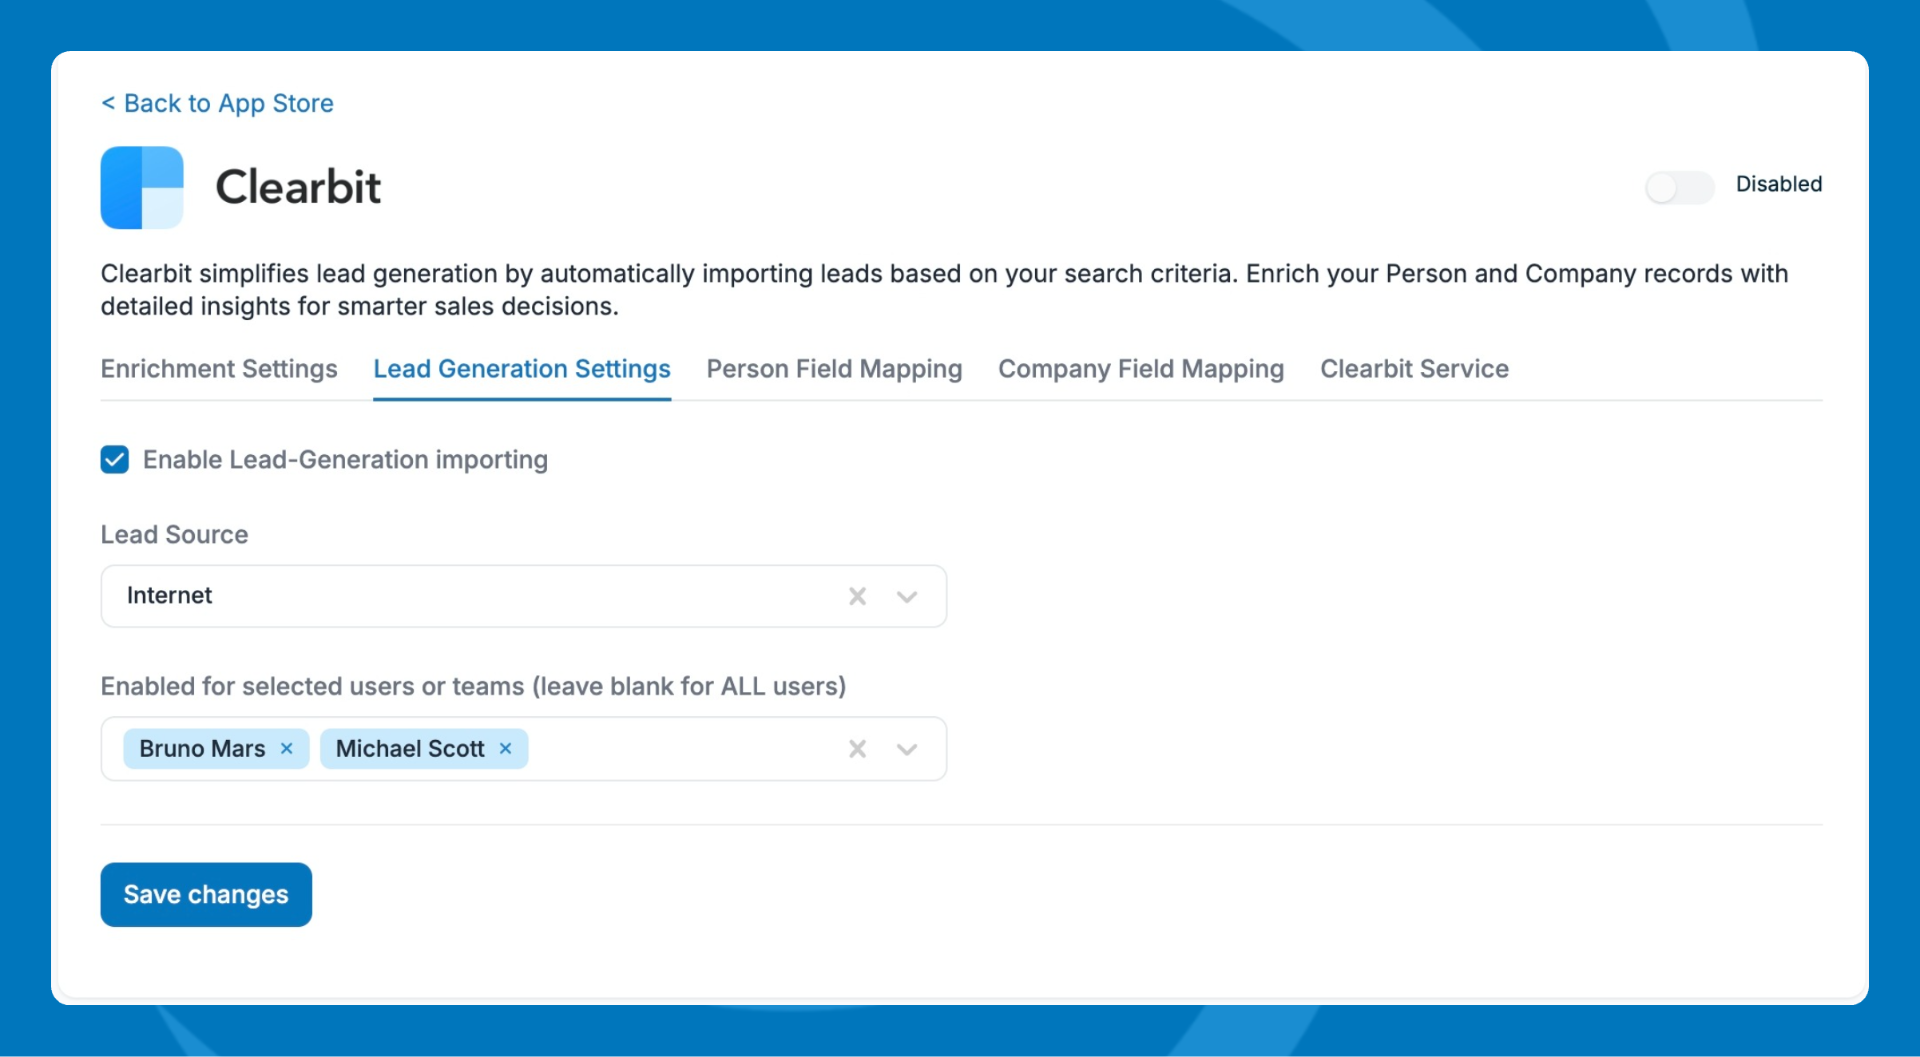
- Lead Generation Settings: Enable to bring in leads to your account.
- Optional but recommended: Set a lead source.
- Optional: Select groups or contacts who can use Lead Generation.
- Map Clearbit fields to your Pipeline CRM fields by selecting the Person and Company field mapping tabs. Some fields are mapped by default. To add more, create custom fields and map them as needed.
- Toggle on the Enable option in the top-right corner of the integration.
Enrichment is triggered by a work email — if a person's record is created with a work email, it will be enriched. If a person is updated but the work email hasn't changed, no enrichment occurs.
Using Lead Generation
- Ensure that Lead Generation is enabled for Clearbit.
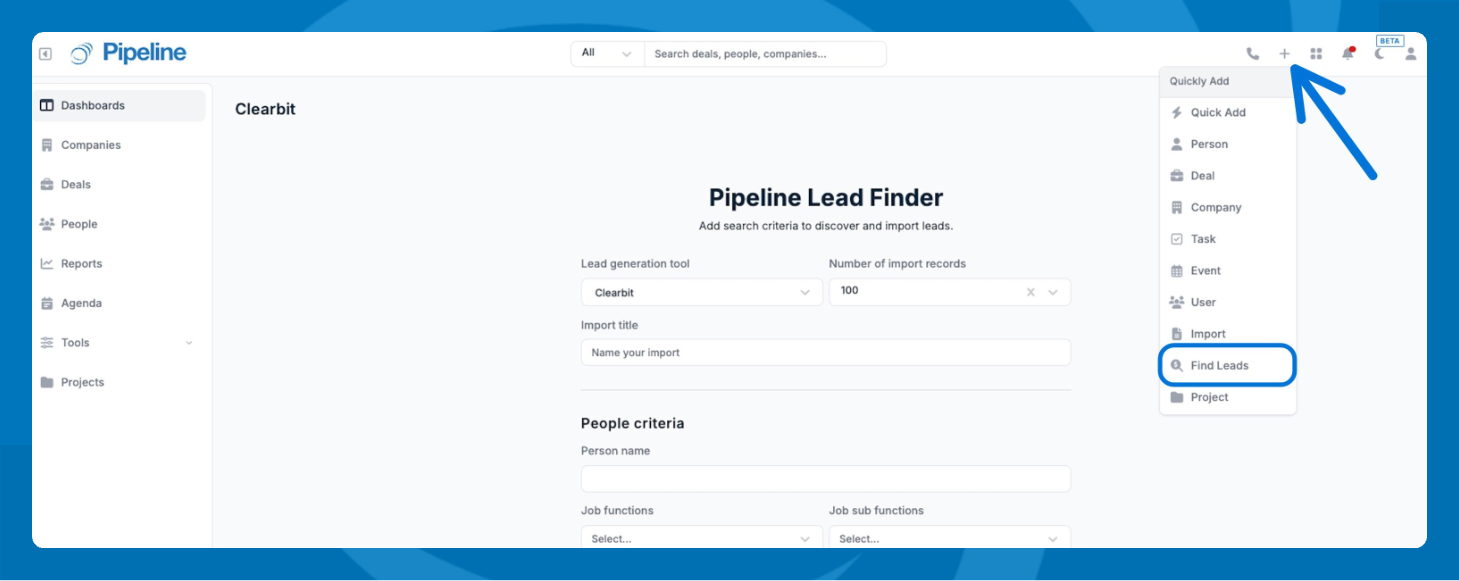
- Click the + (add) icon and select Find Leads.
- Define your search criteria — for example, Sales Managers at private companies in New York with 1,000–5,000 employees.
- Set the number of leads to import (10, 20, 50, etc.) and click Import Leads.
- Monitor import progress on the Status page. Use Action > Reload to rerun or refine a previous search.
💡 Tip: Field mapping is shared between enrichment and lead generation — any changes you make in one configuration will apply to both.
Need help? Contact support at [email protected].