
Before You Begin
Make sure you have:
- Admin access to Pipeline CRM
- A Customer.io account with admin permissions
- Contact data in Pipeline CRM (first name, last name, email, phone number)
- Go to Settings > Other
- Select App Store
- Search for Customer.io
- Click Install
Step 2: Set Up Data Pipeline in Customer.io
You'll need to create a source in Customer.io to receive data from Pipeline CRM.
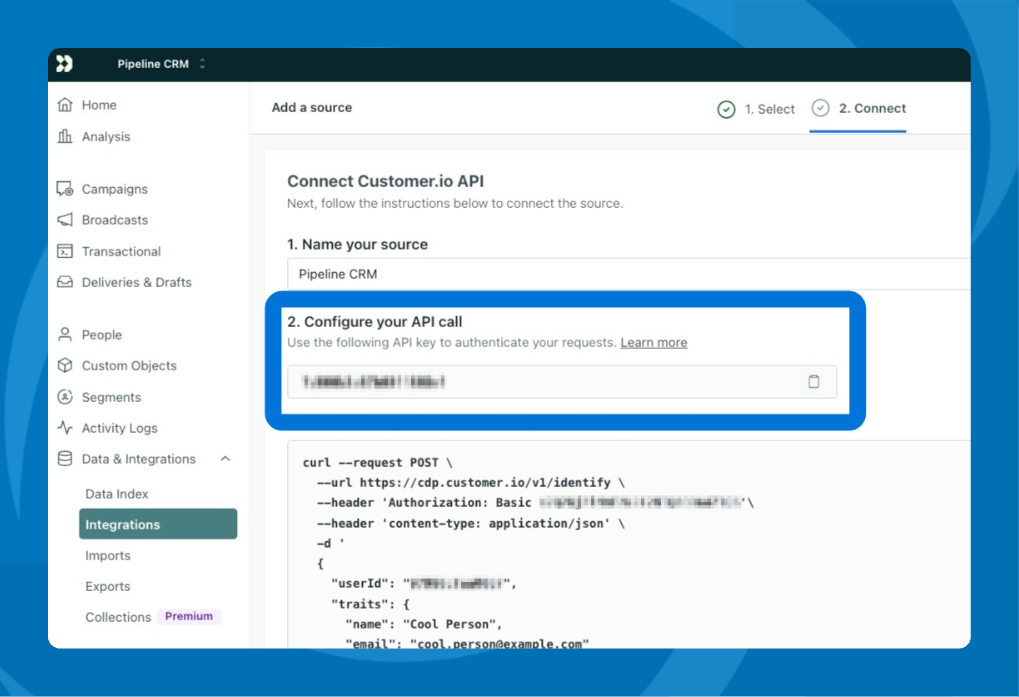
- Log in to Customer.io
- Go to Data & Integrations → Integrations
- Find the Customer.io API app.
- Name it and copy the API key.
💡 Keep this token handy — you'll need it in the next step.
Step 3: Connect Pipeline CRM to Customer.io
- Return to Pipeline CRM
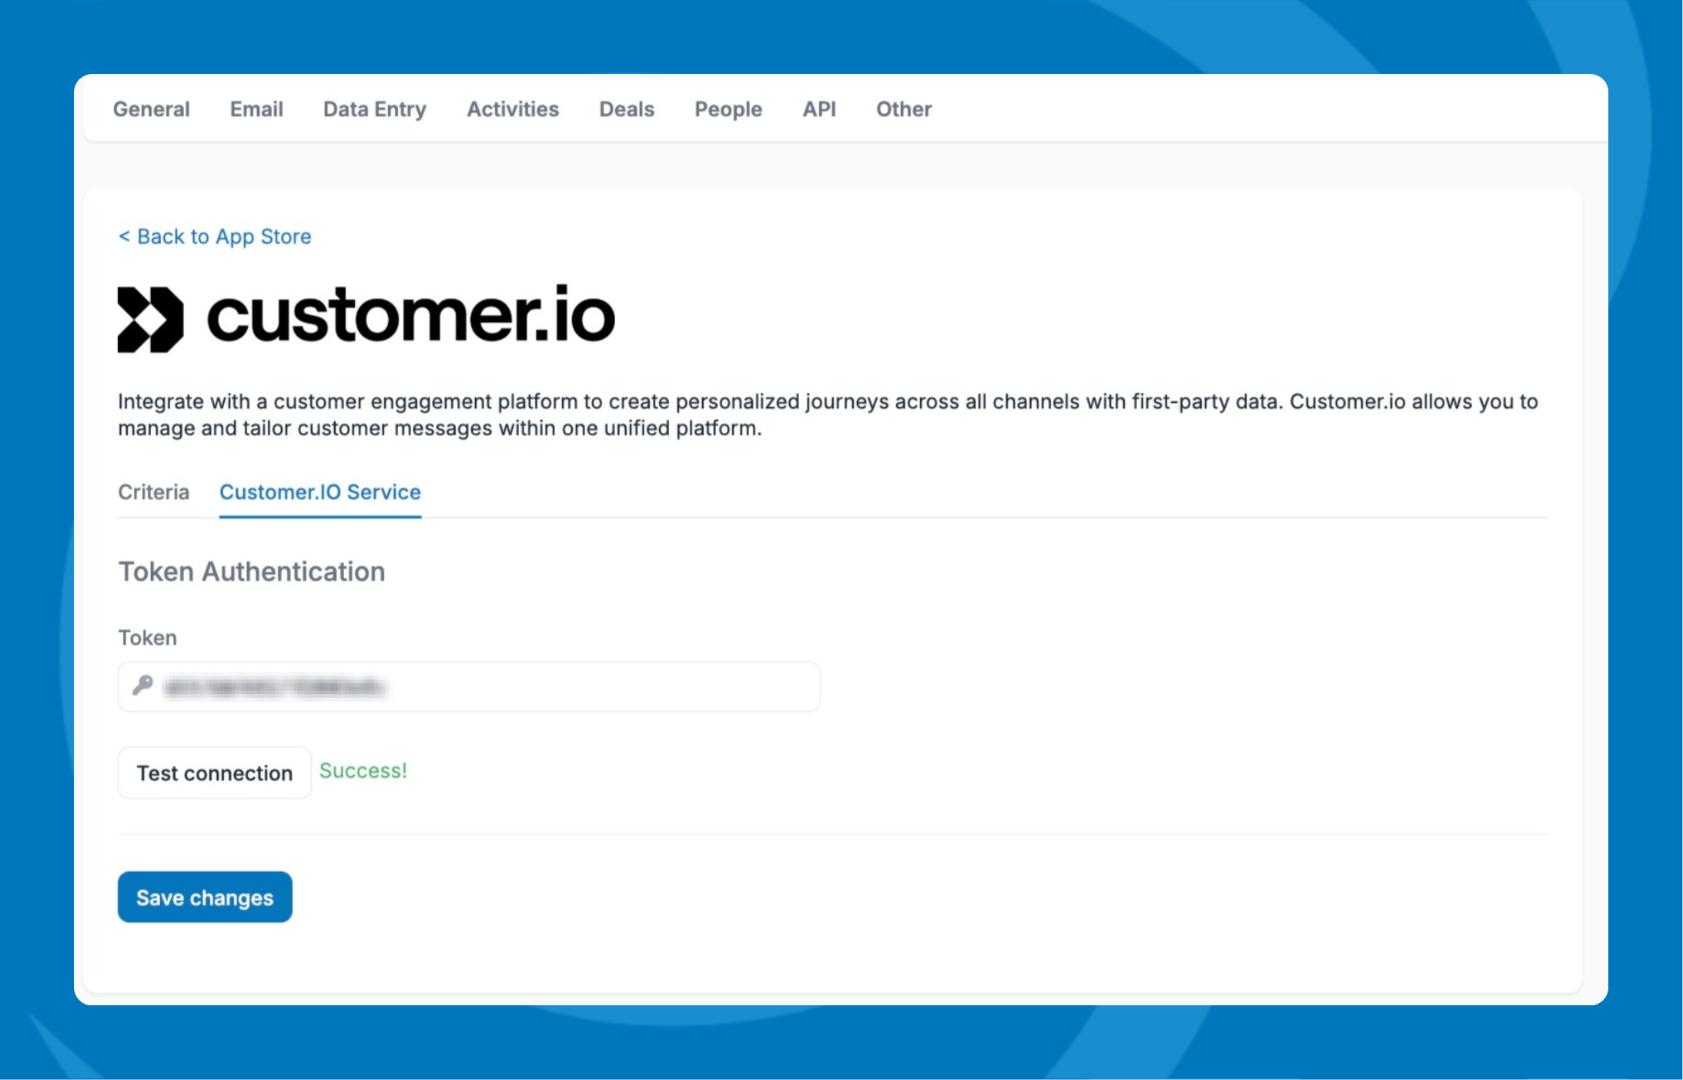
- Open the Customer.io integration settings
- Paste the token you copied from Customer.io
- Click Save
- Click Test Connection to verify it's working
- Click Back to App Store and toggle the integration to Enabled
Step 4: Complete Setup in Customer.io
- Go back to Customer.io and test the connection.
- Complete the setup.
- Set up a destination for where the data should go in Customer.io
- Save your changes
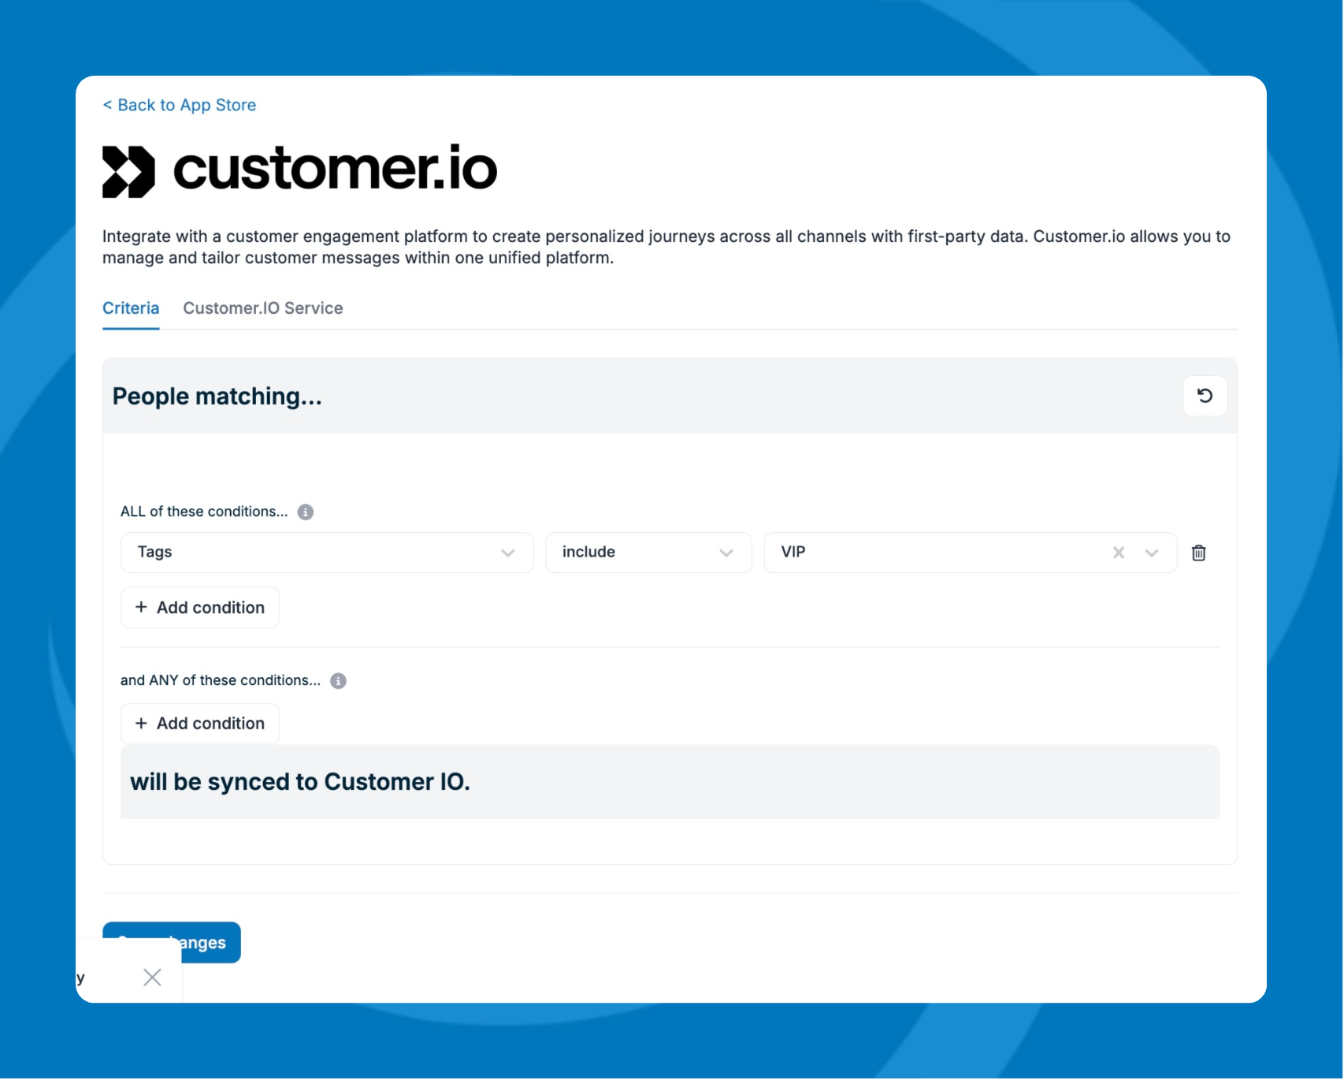
- In Pipeline CRM, go to the Customer.io app
- In the Criteria tab, choose which contacts sync from Pipeline CRM to Customer.io based on tags, custom fields, or other criteria.
What Data Gets Sent to Customer.io?
Pipeline CRM automatically syncs the following People information when your sync criteria are met:
- First name
- Last name
- Email address
- Phone number
- Tags (when used as sync criteria)