

Before you begin:
Ensure an account admin has enabled permissions.
- Navigate to Settings.
- Select Other.
- Click on App Store.
- Search for “Outlook” and hit Learn More.
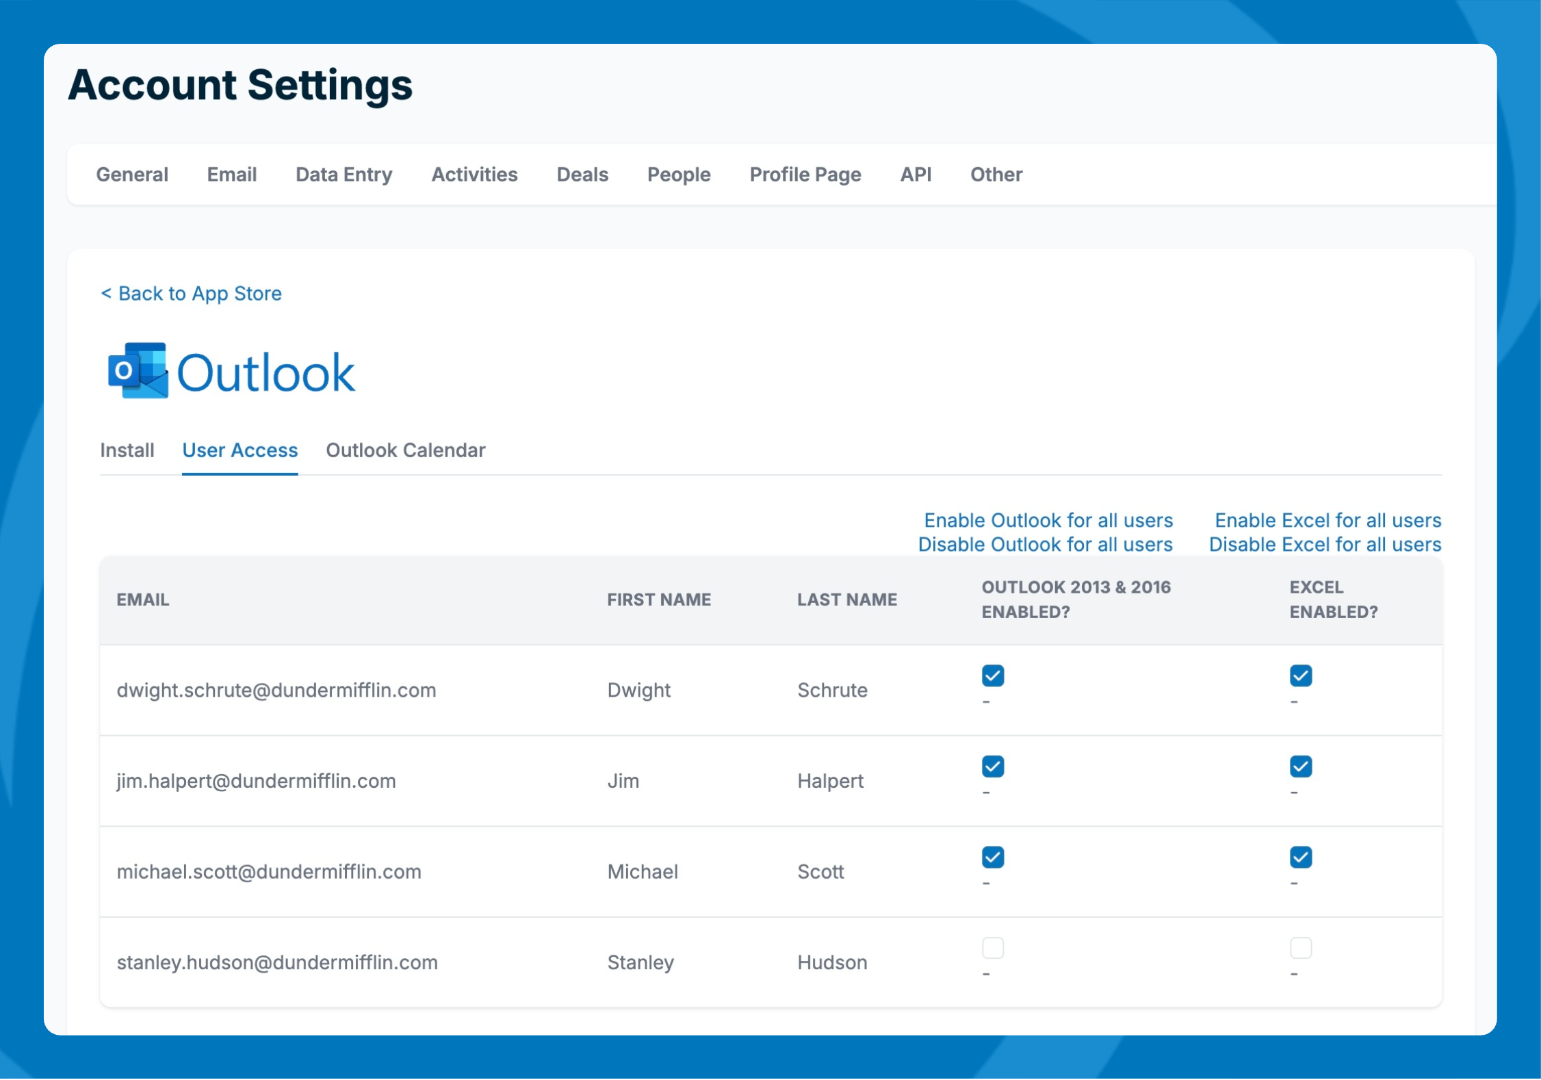
- Select the User Access tab.
- Enable users.
Step 1: Install the Pipeline Add-in
- Open Outlook.com.
- Click the Apps icon in the left sidebar (or in the top-right corner of an email).
- Select Apps, then click Add Apps and search for PipelineDeals.
- Once you find it, click Install.
Step 2: Sign in to the Add-in
- Open any email in Outlook.
- Click the Apps icon (top-right corner) and select PipelineDeals.
- A side panel will open on the right.
- Sign in using your Pipeline CRM and Microsoft credentials.
Step 3: Create a “Pipeline” Category
- Click the gear icon (⚙️) in the top-right corner.
- Go to Account → Categories → Create New.
- Name the category “Pipeline” (with a capital “P”)—this is required for syncing.
How Syncing Works 
- Sync interval: Items sync about every 10 minutes based on recent changes.
- Initial sync: Pulls items from the past 60 days from Pipeline into Outlook.
- Ongoing syncs: Each run checks updates from the last 20 minutes in both systems.
- Categorization required: Tasks, events, and contacts must be categorized as Pipeline in Outlook to sync.
Using the Microsoft Outlook Calendar & Contact Sync
Syncing Contacts - On setup, contacts sync between Outlook and Pipeline automatically.
- Outlook applies the Pipeline category to contacts coming from Pipeline.
- To sync Outlook contacts into Pipeline, contacts must:
- Have a valid email address.
- Be categorized as Pipeline.
- Contact updates sync both ways, using the most recent change.
- Tasks and events sync bi‑directionally between Outlook and Pipeline.
- New items created in Outlook must be categorized as Pipeline to sync.
- Updates use the most recent version. Deletions are not mirrored; the deleted item simply stops syncing.
- Recurring items:
- ✅ Supported from Pipeline → Outlook.
- ❌ Not supported from Outlook → Pipeline.
- Use the Pipeline Outlook add‑in to file emails to the associated Pipeline contact.
- You can save:
- Emails (sent or received)
- Attachments

Need help? Contact support at [email protected].